The secret of your own heart you can never know;
but you can know Him who knows its secret.
-George MacDonald

Friday, April 27, 2012

Sparkle!

Sometimes I just like to get in my work space and make things. Making tags is especially fun. I had taken some scrapbook paper that I love...then cut, stamped and embossed, and made some decorative tags. After I put them together, I  was wondering what to add on top...hmmm... They just needed that last "something". Well, this week's Papertrey Ink's Make It Monday gave me the answer...I painted these frilly flowers with glue and then dipped them in glitter to add just the right amount of icing on top!
“Begin doing what you want to do now. We are not living in eternity. We have only this moment, sparkling like a star in our hand-and melting like a snowflake...” Francis Bacon, Sr. To see this week's challenge, and how to add some sparkle to your day, go here:
http://nicholeheady.typepad.com/capture_the_moment/2012/04/make-it-monday-63.html


Supplies Used: Stamps: Papertrey Ink-Frilly Flowers, Love and Marriage(little tag)
Dies: PTI-Frilly Flowers, Doily, Filigree Border. Fiskers border punch
Inks: Versafine-onyx black. Tim Holtz Distress-Spun Sugar
Paper: DCWV-Mariposa Stack

Also, go to Nichole's blog nicholeheady.typepad.com, to see the April Blog Hop. Gorgeous creations on there! I completely missed it:-(

By the way, is anyone else having troubles getting their dashboard once they log into their blogspot? If you did and you got it fixed, and can offer helpful advice, I'd appreciate it. Thanks so much:-)

Thursday, April 19, 2012

Step It Up to Graduation with Step It Up: Layering

Oh my goodness! I know so many young people that are graduating from school this spring. A niece, a nephew, a cousin, my son's good friend, AND my daughter, who is getting her master's degree! Lots of cardmaking!


This week's Papertrey Ink's Make It Monday #62 gave me just the inspiration I needed! Betsy Veldman shows us how to start with a simple stamped card like the one above and then step it up by adding your choices of color, stamps and/or dies.


To the stamped card, I added stars by punching and gluing small stars in black and red. I added the bigger stars by cutting apart the PTI Super Star Borders dies. I raised the larger solid stars up a bit by gluing with mounting tape.


Finally, using more mounting tape, I glued the base to a longer card and added die cut letters.


For my niece, I used the same basic design for the first and second layers. I changed the colors to match her school colors. For the final layer I added an embossed scalloped layer under the book stamp that I cut out and glued with mounting tape. I stamped "Congratulations" on another layer and put that over the embossed layer. I even added some glitter to the mounted stars. Thanks Betsy, for the inspiration!
To see some inspiration for your own cards go to:
http://nicholeheady.typepad.com/capture_the_moment/2012/04/make-it-monday-62.html


Supplies:
Stamps: Papertrey Ink-All Booked Up, Studio g-Graduation, Stampibilities-The Paper Studio
Dies: Super Star Borders Die
Inks: Versafine-Onyx Black, Color Box-Fireberry
Punches: EK scallop punch, star punch
Cuttlebug Moroccan Screen embossing folder, glitter glue

Tuesday, April 10, 2012

More Excuses To Make Flowers!


I LOVE making paper flowers. It's a good thing too, because last year about this time, my daughter and I were making HUNDREDS (I'm not exaggerating) for her wedding decor. Even the "father of the bride" was die cutting and pasting!
Today, on Papertrey Ink's Make It Monday #61, Dawn McVey shows us a clever way to make adorable flowers by using leaf die cuts. I decided to use the leaf die cuts and matching stamps from the Frilly Flowers Collection by Papertrey Ink. First, I stamped the die a gorgeous tangelo orange. Then, to give the leaf a little dimension and make it look a little more like a flower petal, I squeezed the more pointed end.


I used a square punch at the base to make my flower (this helped me find the center more easily) and glued the "squeezed ends" of the leaves at the center. Then I glued and layered...


With the Frilly Flowers Collection, you get three sizes of leaves. I used the medium and small size leaves to make the petals. For the center of the flower, I folded two small stars from a Papertrey die cut, glued, and added a little pearl.


I decided to adorn a tag with the flower I made. I LOVE adding tags to all kinds of gifts. As with all the Make It Monday Ideas, there are so many possibilities. You can make a flower using any kind of die cut...Take a look at the Make It Monday AND all the projects that are submitted. Lots of imagination going on out there!
To see the Make It Monday for this week go to:
http://nicholeheady.typepad.com/capture_the_moment/2012/04/make-it-monday-61.html


Supplies:
Stamps: Papertrey Ink-Frilly Flowers
Die Cuts: Papertrey Ink-Frilly Flowers, Super Star Borders, Limitless Layers 1 3/4 Circle
Punch: Martha Stewart Square punch
Inks: Memento Tangelo, Versafine Onyx Black
Paper: DCWV Coral Couture Stack

Wednesday, April 4, 2012

Papertrey Ink Make It Monday #60 Generational Stamping


What a beautiful technique Ashley Cannon-Newell shows us this week on Papertrey Ink's Make It Monday! Especially nice for this time of year. By using the same color ink and stamping twice before you "re-ink", you can not only double your colors, the method creates a wonderful watercolor effect...just like the springtime world outside right now.


By using just two colors...Color Box-Fireberry and Memento-Bamboo Leaves, I was able to make all these beautiful shades of color creating a "Monet" like feel.


Here's a closer look.


I even decided to "generational stamp" the flower layers, creating a darker and lighter red. Ashley even shows how to stamp first on "scrap paper" to get a lighter color for your stamp.(if the lighter color is all you want)


To see and try this lovely technique for yourself, go to:
http://nicholeheady.typepad.com/capture_the_moment/2012/04/make-it-monday-60-generational-stamping.html
Wishing you all a wonderful and joyful Easter!
"You have made known to me the paths of life; you will fill me with joy in your presence."~ Acts 2:28


Supplies Used:
Stamps: Papertrey Ink-Frilly Flowers, Garden Variety, Background Basics:Wrought Iron
Studio g-Easter Joy
Dies: Papertrey Ink-Seed Packet, Seed Packet Frame
Inks: Color Box-Fireberry, Memento-Bamboo Leaves, Versafine-Onyx Black
White, green and red cardstock
Prismacolor Crimson Red Colored Pencil for coloring in lettering "Easter Joy"
green button, white crochet yarn

Friday, March 30, 2012

Taking Your Stamps and Die Cuts Personally


The Papertrey Ink, Make It Monday #59, with Erin Lincoln this week shows you how to take your own computer generated text, print it, and then stamp and die cut over that sentiment to make something a little more personal. The creative possibilities, using this technique, are endless...
Thinking back, before my son was born, (knowing he was going to be a boy) my daughter, and then the rest of the family started calling him "baby Bobby". Wouldn't it have been nice to receive a card that had that special name on it? It would be really nice to look back on today since that "baby Bobby" is now a college student measuring 6 foot 2 inches tall!


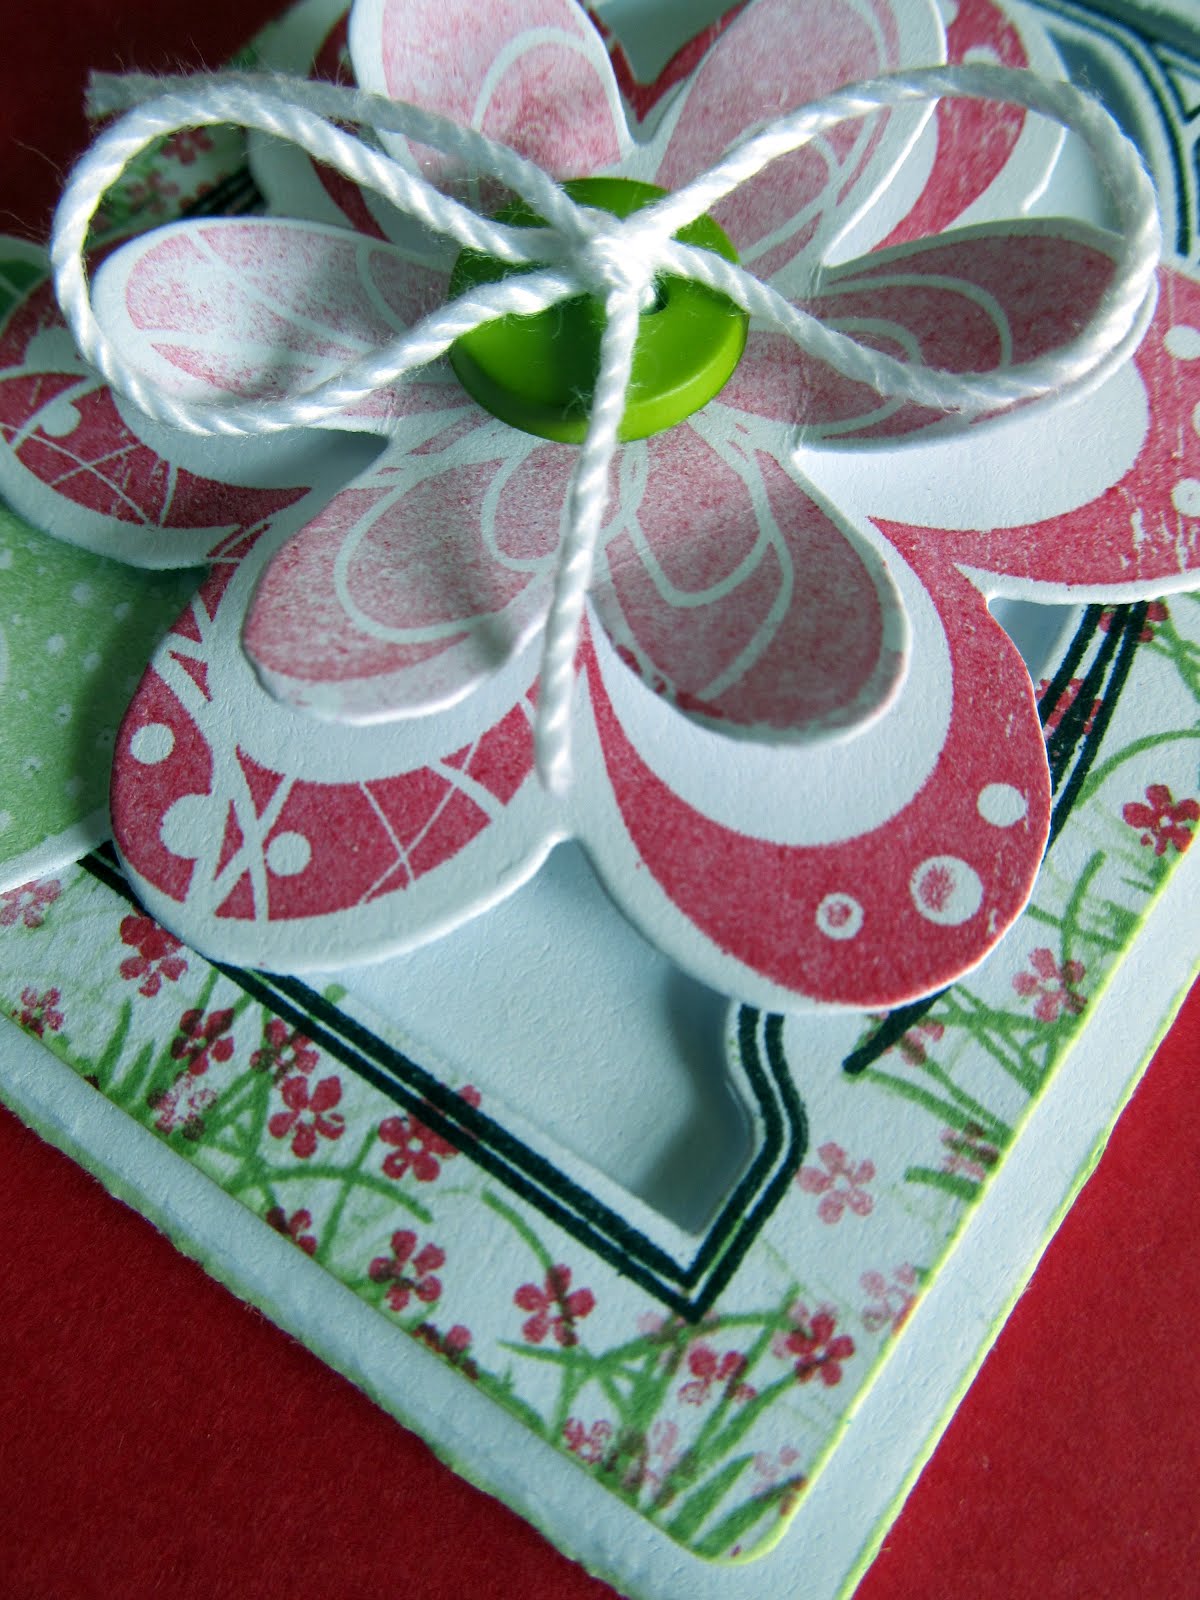
Erin showed us how to take any stamp like this one from the Papertrey Ink stamp set, Button Boutique...


And then stamp it over computer generated text that you print yourself. I even decided to use the word art in Microsoft Word to spruce the text up a bit.


Erin's tutorial shows you how to combine text, stamp and die cuts to create something especially made for that special someone or yourself...


Like I said, the possiblilities are endless.


To see the Papertrey Ink Make It Monday for this week go to:
http://nicholeheady.typepad.com/capture_the_moment/2012/03/make-it-monday-59-computer-generated-sentiments-on-die-cuts.html


Supplies:
Papertrey Ink stamp sets: Button Boutique,Hanging Out
Papertrey Ink die cuts: Hanging Out, Super Star Borders
Inks: Memento-Danube Blue, Color Box-Sky Blue
Cardstock: Blue, Green, White, Blue and Green Plaid
Buttons and Crochet Yarn

Wednesday, March 14, 2012

Yes, You Can, Kiss In Color. Make It Monday #57


This week, on Papertrey Ink's Make It Monday, Heather shows how to take a stamp that makes this image...then "kiss" that stamp with another stamp and color.


When you use that technique, it will make the solid space on the stamped image look like this...


Then, you can make a card look like this...
Really CUTE idea!
To see the tutorial, go here:
http://nicholeheady.typepad.com/capture_the_moment/2012/03/make-it-monday-57-colored-kissing.html

Supplies used:
Stamps-Papertrey Ink-Love and Marriage(tree), Garden Variety(text) Hero Arts-Small Metal Flourish
Inks-Memento-Bahama Blue,Versafine-Vintage Sepia
EK flower punch
Kraft paper
White and Blue cardstock
Glitter glue

Wednesday, March 7, 2012

Make It Monday #56: Die Cutting Partial Images


The Papertrey Ink "Make It Monday" technique and challenge this week featured Betsy Veldman showing us how to take our dies and mask them in such a way that they only cut part of it's image. This is the die I chose to use. I LOVE this die by Papertrey Ink. It is a cover plate called the Quatrefoil Die. Fully used, it makes a beautiful decorative screen.


I chose to mask about two thirds of the die, cut, and then trim off the bottom edge just a bit.


I layered the partial die cut over my stamped image...and then layered a similiar stamped image over my partial die cut to create this...


This challenge has so many possibilites. Thanks Betsy! To see the Make It Monday Challenge for yourself go here: http://nicholeheady.typepad.com/capture_the_moment/2012/03/make-it-monday-56-die-cutting-partial-images.html

Supplies used:
Papertrey Ink Quatrefoil Die
Cherry Blossom stamp by Rubber Stampede
Flower Border by TPC Studio
Thankful for You by studio g
Butterfly stamp by Martha Stewart
Inks-Lady Bug Red- Memento, Black-Versafine, Tsukineko
Water color pencils by Staedtler
Red, White, and Black Cardstock

Thursday, March 1, 2012

March, A Bunny, and Knitting


Whenever the first of March comes around I always feel like, "Wow! I made it through the winter"! Even though it's technically still winter, the first of March means we are almost there! Back in the Fall, I was determined I was going to learn how to knit this Winter. I was so envious of people who knew how to do this! I checked videos out of the library, and then some books. To my surprise, it's not too hard, AND I like to practice. Practice makes perfect, right? Little by little, I have been learning and looking for projects. Still doing the basic knit and purl stitches, I wanted to do some stuffed animals...amigurumi...but the patterns I found were a little beyond me. Then I stumbled on to this book...

Most of the patterns are easy and written so that a beginner like me can understand! Just look at the little bunny I was able to knit. Because of my beginner's hands, she's not perfect, but she is a cutie! You can find the book at some libraries or on Amazon here: http://www.amazon.com/Little-Knitted-Creatures-Leisure-Arts/dp/1609000145/ref=sr_1_1?s=books&ie=UTF8&qid=1330653696&sr=1-1

*please forgive not being able to "click" on links. For some reason, my connections are not working!

Tuesday, February 28, 2012

Thank You So Much, Cyndie!


Cyndie,from artfulhaven.blogspot.com has generously awarded me the Liebster Blog Award! This award is given to blogs with less than 200 followers. It is an honor to have fellow crafters visit and enjoy the things I have created. Now I am really excited that someone has liked my creations so much that she has taken the time to present this award to me. Thanks so much, Cyndie!

Cyndie has received MANY awards because of her beautiful creations. To see her blog go here:
http://artfulhaven.blogspot.com

Monday, February 27, 2012

Papertrey Ink Make It Monday #55


The Challange on Papertrey Ink's blog this week is to take a small stamp or die frame and make it larger. In the video, Dawn McVey takes a small frame stamp and stamps it beside the other to make it appear larger. I really don't have a stamp frame so I chose to enlarge a DOOR frame...like this:

This beautiful door frame is from the Papertrey Ink stamp collection called Door to Door. I really like it because of all the detail and the way you can color it to make it look like a door surrounded by stained glass...or if you stamp it twice, a window or frame.

While making this I thought it would be really fun for a bride and all her friends to make a bunch of these for her "Save The Date" announcements. Those who were lucky enough to receive one, could hang them up to remember that special date to come.

The bride could gather all her bridesmaids. Each friend would be given a crafting task...have an assembly line, and the cards would be done in no time!


http://nicholeheady.typepad.com/capture_the_moment/2012/02/make-it-monday-55-creating-large-frames-with-smaller-frame-stamps.html

Saturday, February 25, 2012

Put A Little Sparkle On Your Buttons


I LOVE Papertrey Ink products. Especially their stamps. AND all the creativity that surrounds their products. Every Monday, Papertrey Ink and Nicole Heady feature a "how to" video called Make It Monday. This past week the video tutorial showed how to add some sparkle to your projects by glittering your own buttons. So very cute!Here's the little project I created using some of their beautiful stamps. The window, featured here, is from their stamp collection entitled "Home Made".
Find that fun tutorial here: http://nicholeheady.typepad.com/capture_the_moment/2012/02/make-it-monday-52-glitter-buttons.html

Monday, February 13, 2012

Hearts Origami Style


Super easy origami hearts for your BFF. Make them out of used catalogs or magazines, OR just plain paper so you can write a little note. Here's the website tutorial: http://blog.paper-source.com/how-to/how-to-recycled-origami-hearts/

Wednesday, February 8, 2012

The Day of Hearts


“There could have been no two hearts so open, no tastes so similar, no feelings so in unison”
― Jane Austen, Persuasion

Wednesday, January 25, 2012

Knitting a Banner of Love


Little by little, step by step, I am learning to knit. After discovering how to knit 2 together and decrease the size of my project...I made these triangles for a sweet little Valentine's banner. The project begins by casting on 20 stitches...knit every row...decrease every other row by knitting two stitches together on each end until only one stitch is left. I cut out felt hearts using pinking shears. Next I embroidered each heart with a simple running stitch and sewed them to the knit triangles. The banner cord is a knitted i-cord. I learned how to knit the triangles and i-cord with the help of a children's knitting book called Kid's Knit. You can find it here: